Vector embeddings and RAG retrieval. Build Perplexity-style AI apps that deliver context-aware responses with real-time source citations. Perfect for creating next-gen search engines, content recommendation systems, and AI-powered knowledge bases.
Implement efficient storage and retrieval of vector embeddings using Supabase's pgvector extension for PostgreSQL.
Develop a Retrieval-Augmented Generation system using OpenAI's API and vector similarity search for context-aware AI responses.
Leverage Supabase for user authentication, database management, and real-time subscriptions in a serverless architecture.
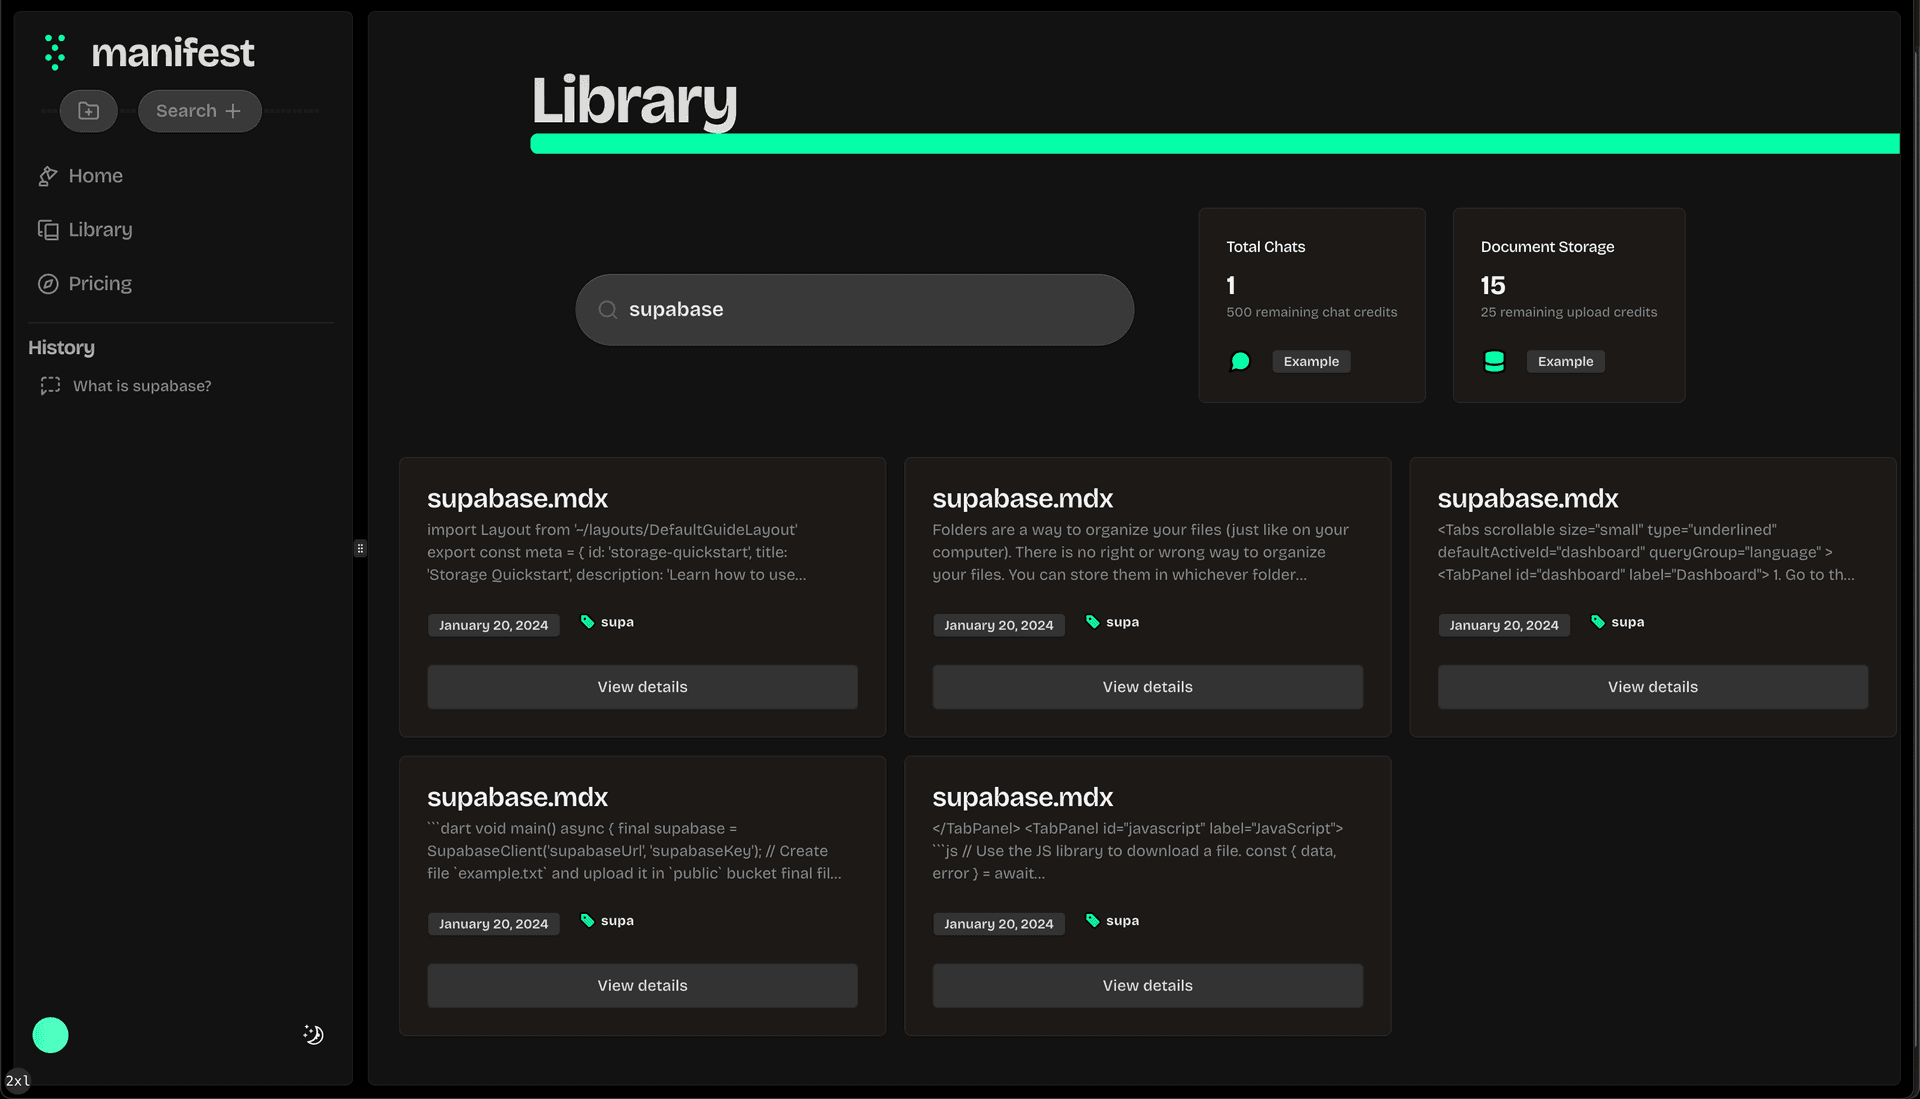
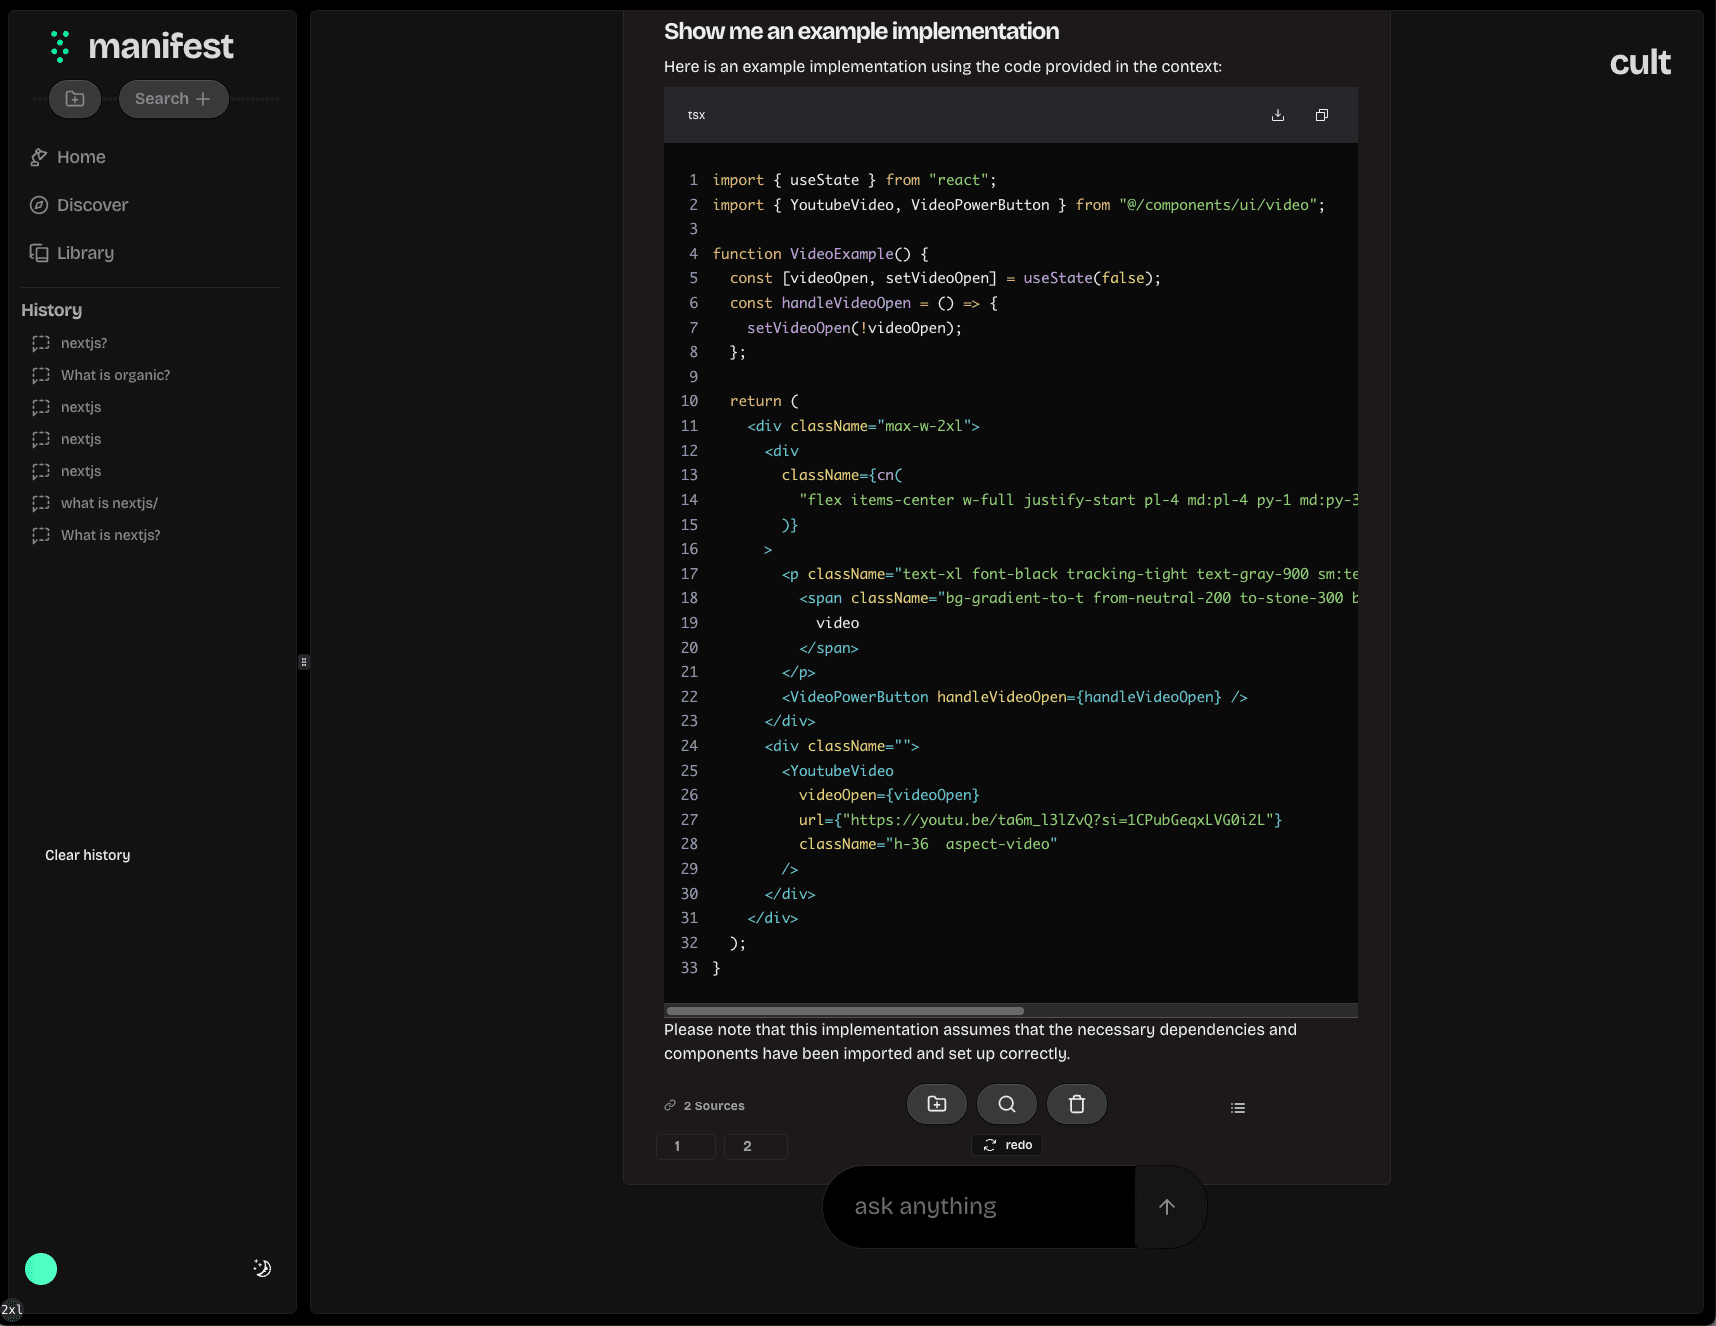
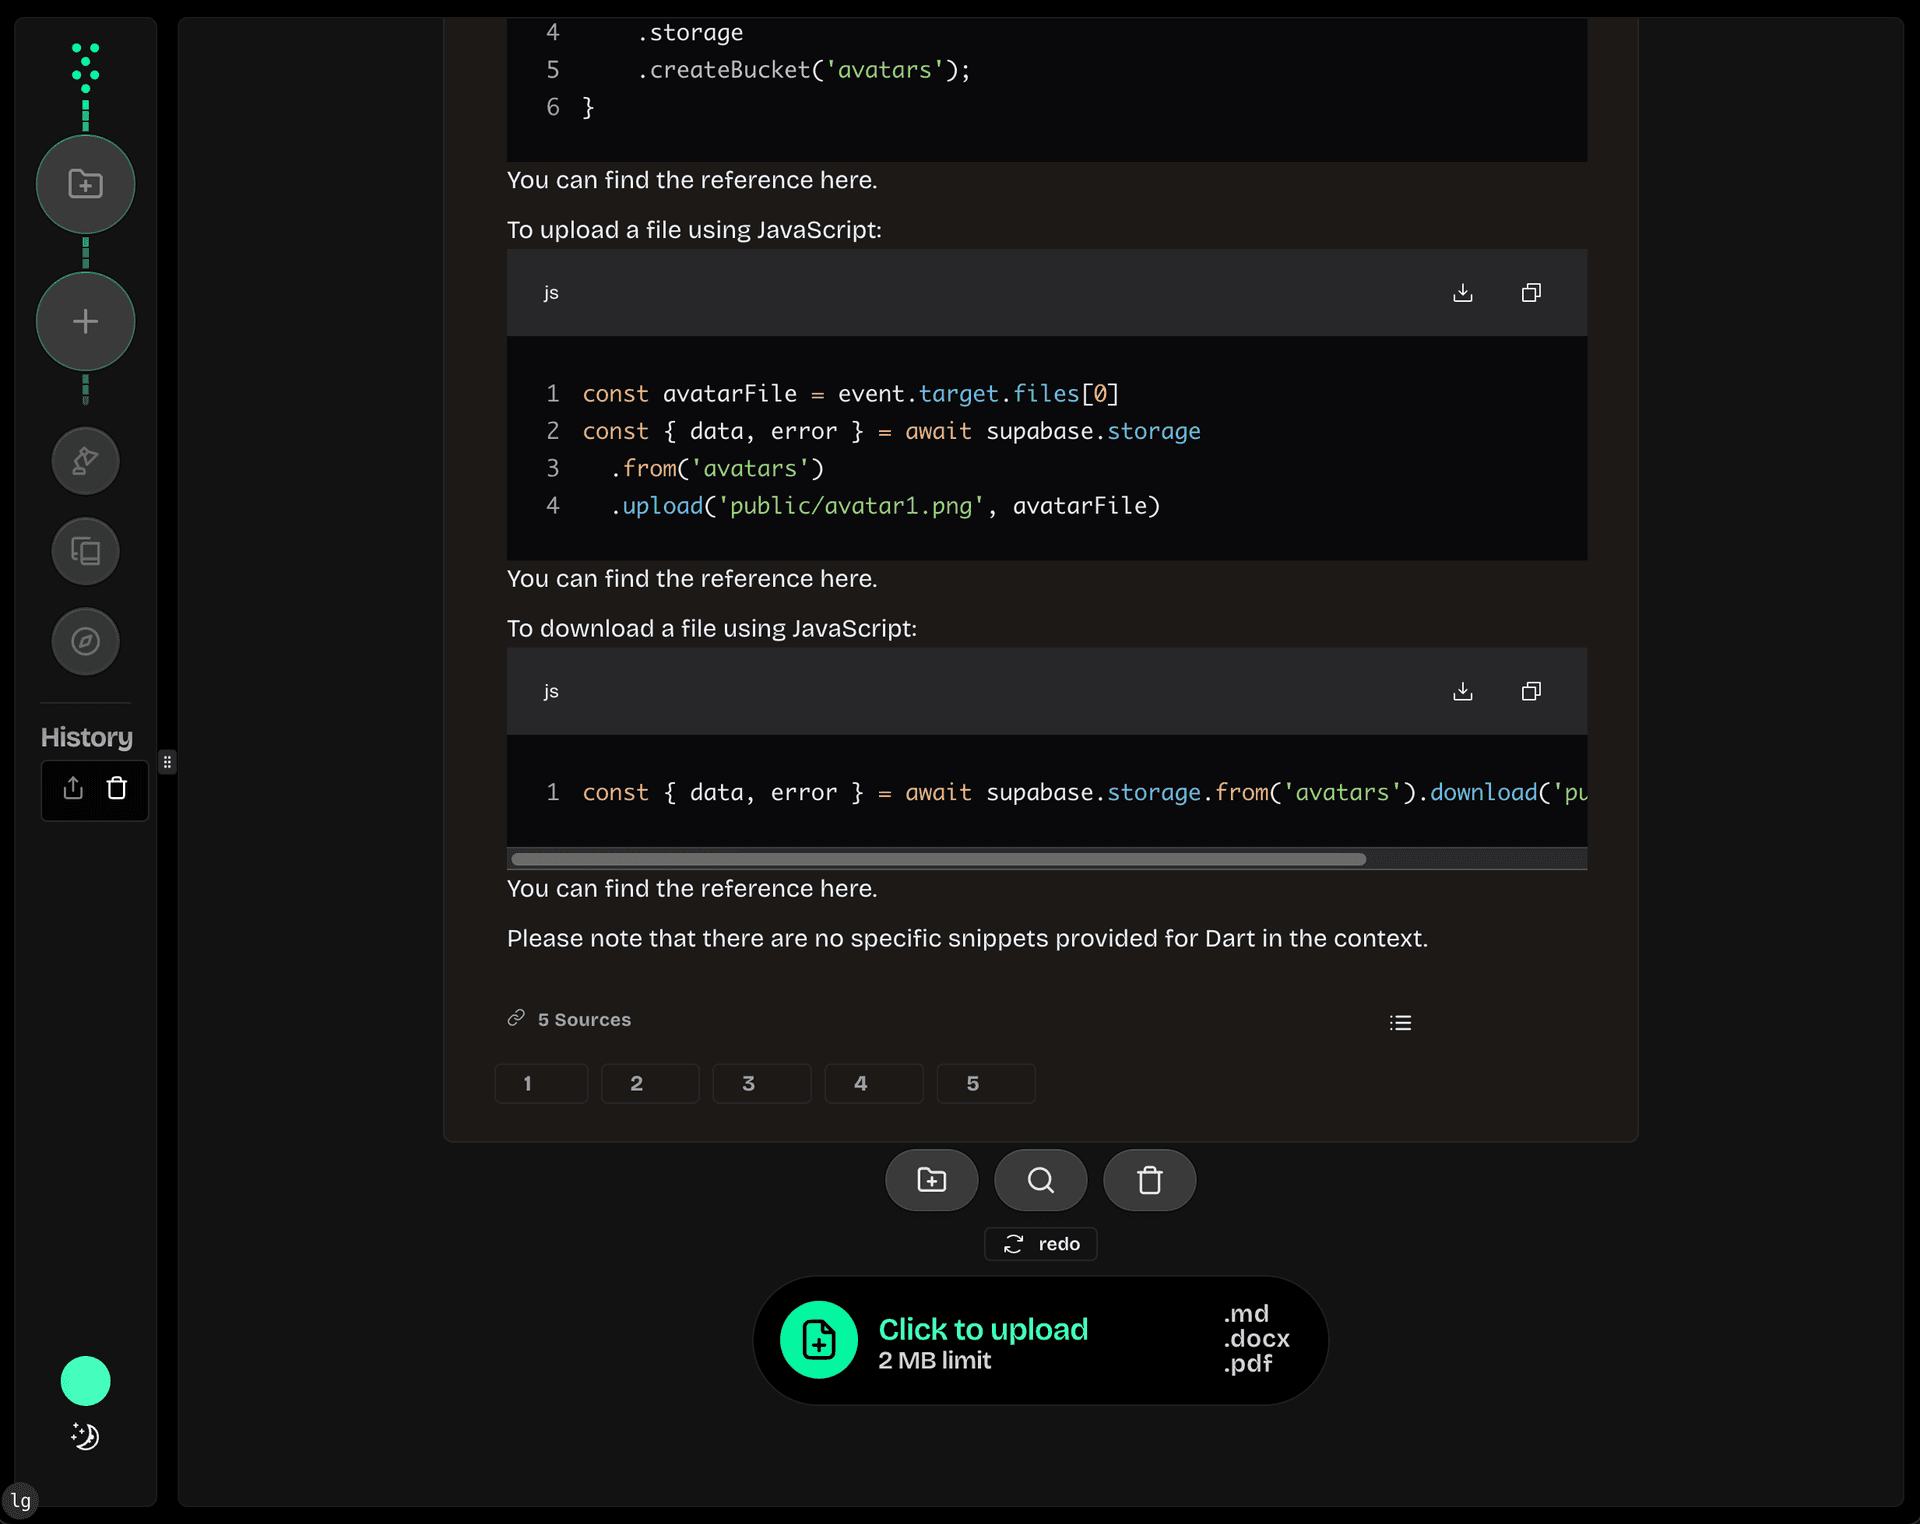
<h1 align="center">Cult Manifest Template</h1>
<p align="center">
Inspired by perplexity Manifest is a full stack RAG template for building any AI SaaS app.
</p>
<p align="center">
<a href="#Supabase"><strong>Setup Supabase</strong></a> ·
<a href="#Develop"><strong>Test Locally</strong></a> ·
<a href="#Deploy"><strong>Deploy</strong></a> ·
<a href="#Stripe"><strong>Setup Stripe</strong></a> ·
</p>
<br/>
## Supabase
1. Create a Supabase project at https://database.new, or via the CLI:
```shell
npx supabase projects create -i "your-saas-app"
```
Your Org ID can be found in the URL after [selecting an org](https://supabase.com/dashboard/org/_/general).
2. Link your CLI to the project.
```shell
npx supabase init
npx supabase link --project-ref=<project-id>
```
You can get the project ID from the [general settings page](https://supabase.com/dashboard/project/_/settings/general).
3. Store Supabase URL & public anon key in `.env.local` for Next.js.
```shell
NEXT_PUBLIC_SUPABASE_URL=<api-url>
NEXT_PUBLIC_SUPABASE_ANON_KEY=<anon-key>
```
You can get the project API URL and anonymous key from the [API settings page](https://supabase.com/dashboard/project/_/settings/api).
4. Setup db schema.
> This will run all of the migrations located in the `supabase/migrations` directory
```shell
supabase push db
```
## Ensure your .env variables are configured correctly
```bash
cp .env.local.example .env.local
```
```bash
# Example Supabase Config
NEXT_PUBLIC_SUPABASE_URL="https://examplesqnwerasdfaser.supabase.co"
# This will be the first part of your supabaseUrl eg https://examplesqnwerasdfaser.supabase.co
SUPABASE_PROJECT_ID="examplesqnwerasdfaser"
NEXT_PUBLIC_SUPABASE_ANON_KEY="xxxxxxxxxxxxxxxxxxxxxxxxxxxxxxxxxxxxxxxxxxxxxxxxxxxxxxxxxxxx.."
# Stripe
STRIPE_SECRET_KEY="sk_test_xxxxxxxxxxxxxxxxxx"
NEXT_PUBLIC_STRIPE_PUBLISHABLE_KEY="pk_test_xxxxxxxxxxxx"
# You will retrieve this when you begin testing your webhook
STRIPE_WEBHOOK_SECRET="whsec_xxxxxxxxxxxxx"
```
## Develop
### Stripe CLI local webhook
[Install the Stripe CLI](https://stripe.com/docs/stripe-cli) and [link your Stripe account](https://stripe.com/docs/stripe-cli#login-account).
Next, start local webhook forwarding:
```bash
stripe listen --forward-to=localhost:3000/api/stripe
```
Running this Stripe command will print a webhook secret (such as, `whsec_***`) to the console. Set `STRIPE_WEBHOOK_SECRET` to this value in your `.env.local` file.
### Install dependencies and run the Next.js client
In a separate terminal, run the following commands:
```bash
pnpm install
pnpm run dev
# or
npm install
npm run dev
# or
yarn
yarn dev
```
> Note that webhook forwarding and the development server must be running concurrently in two separate terminals for the application to work correctly.
Finally, open your app [http://localhost:3000](http://localhost:3000)
```shell
pnpm i
```
```shell
pnpm run dev
```
open http://localhost:3000/ in your browser
## Deploy
1. Create new repository and push project to github
2. Go to vercel import github repo [Deploy](https://vercel.com/new)
3. Copy .env.local and paste in vercel [Env Variables](https://vercel.com/nolansym/_/settings/environment-variables)
4. Follow stripe instructions and update your vercel stripe env variables for production
### Stripe
> This version of cult classic is configured to handle one time payments. In the future there will be templates for subscriptions as well
Next, we'll need to configure [Stripe](https://stripe.com/) to handle test payments. If you don't already have a Stripe account, create one now.
For the following steps, make sure you have the ["Test Mode" toggle](https://stripe.com/docs/testing) switched on.
#### Create a webhook for your deployed app
We need to create a webhook in the `Developers` section of Stripe. Pictured in the architecture diagram above, this webhook is the piece that connects Stripe to your Vercel Serverless Functions.
1. Click the "Add Endpoint" button on the [test Endpoints page](https://dashboard.stripe.com/test/webhooks).
2. Enter your production deployment URL followed by `/api/stripe` for the endpoint URL. (e.g. `https://your-deployment-url.vercel.app/api/stripe`)
3. Click `Select events` under the `Select events to listen to` heading.
4. Click `Select all events` in the `Select events to send` section.
5. Copy `Signing secret` as we'll need that in the next step.
6. In addition to the `NEXT_PUBLIC_STRIPE_PUBLISHABLE_KEY` and the `STRIPE_SECRET_KEY` we've set earlier during deployment, we need to add the webhook secret as `STRIPE_WEBHOOK_SECRET` env var.
7. Trigger redeploy in vercel
One-time payment, lifetime access
One-time payment, 1 year of updates